First run
The welcome screen
The first time MyRA opens, it checks for two things it needs but doesn’t bundle, because they’re large and specific to your hardware:
- Document tools — pandoc, so MyRA can write Word, OpenDocument and HTML files.
- Model runtime — the local engine that runs models on this machine.
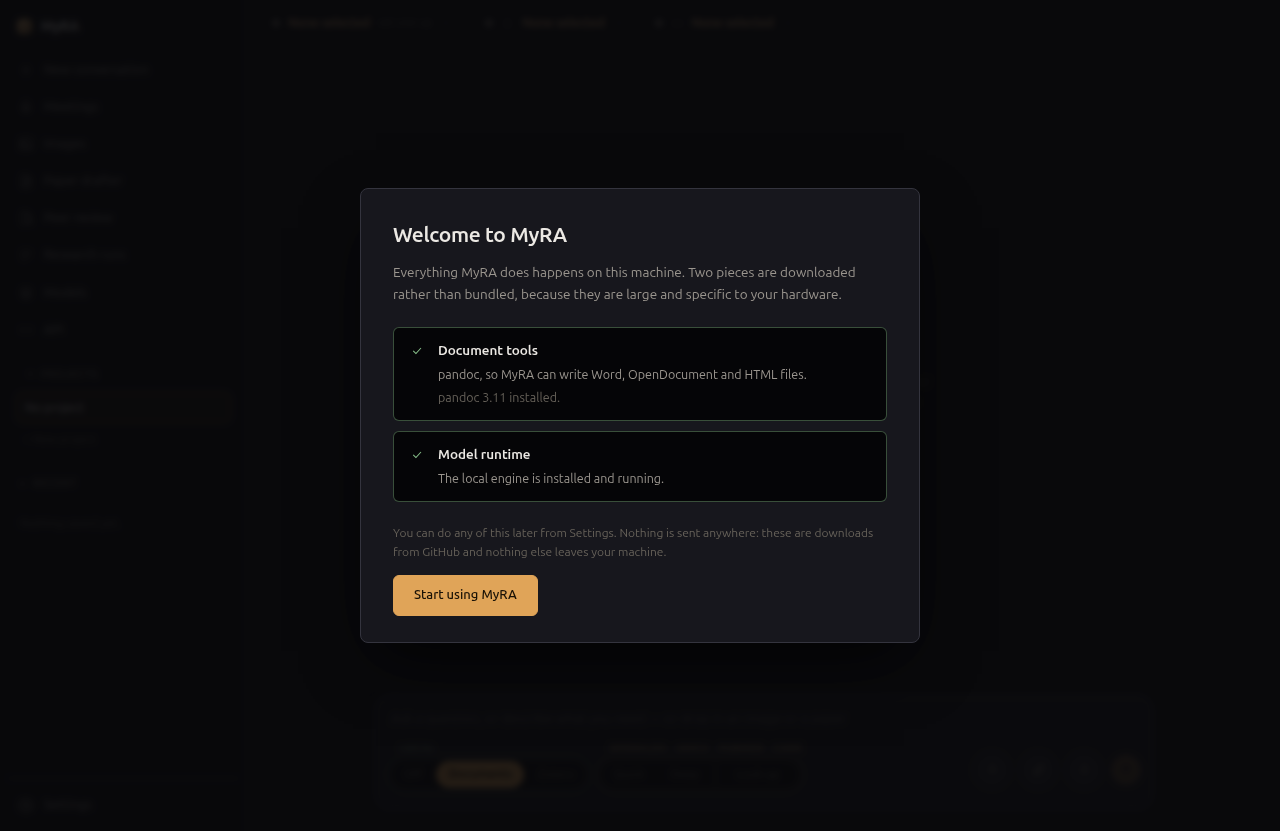
Both downloads come from GitHub, and nothing else leaves your machine at this step. You can skip either one and set it up later from Settings — MyRA still works without pandoc (it writes Markdown instead) and without a local runtime (point it at a hosted provider instead).
The guided tour
After the welcome screen, MyRA offers a short, thirteen-stop tour of where things live. It’s entirely optional — click Skip at any point — and you can’t break anything by clicking through it, since it doesn’t create real data.
Pointing MyRA at a model
Nothing works until MyRA has somewhere to send a conversation. Open Settings → Providers and either:
- Add a local endpoint — anything that speaks the OpenAI API: llama.cpp, Ollama, vLLM. If you installed the bundled model runtime in the welcome step, this is mostly done for you.
- Add a hosted provider — paste in a base URL and an API key. Keys are stored in your OS keyring, never on disk in the clear.
See Providers & models for the full picture, including how MyRA sizes a model to your hardware.
Next
Once a model is configured, jump to whichever feature page matches what you’re trying to do — Meetings, Research, Paper drafter, and the rest are listed on the home page.